Create Users, a Workspace and Projects in KubeSphere
Updated
•4 min readA
I am Java developer with 6+ years of experience and currently exploring open source projects.
In this blog, we will create users, a workspace and projects in KubeSphere.
The multi-tenant system of KubeSphere features 3 levels of hierarchical structure which are cluster, workspace, and project. A project in KubeSphere is a Kubernetes namespace.
Prerequisites:
- You have Civo account.
- KubeSphere is configured on Civo as per my first and second blogs in this series.
How to Create Users?
- Login to KubeSphere with your
adminuser's credentials. - You can see dashboard of KubeSphere. Click on Platform button.

- Click on Access Control section.
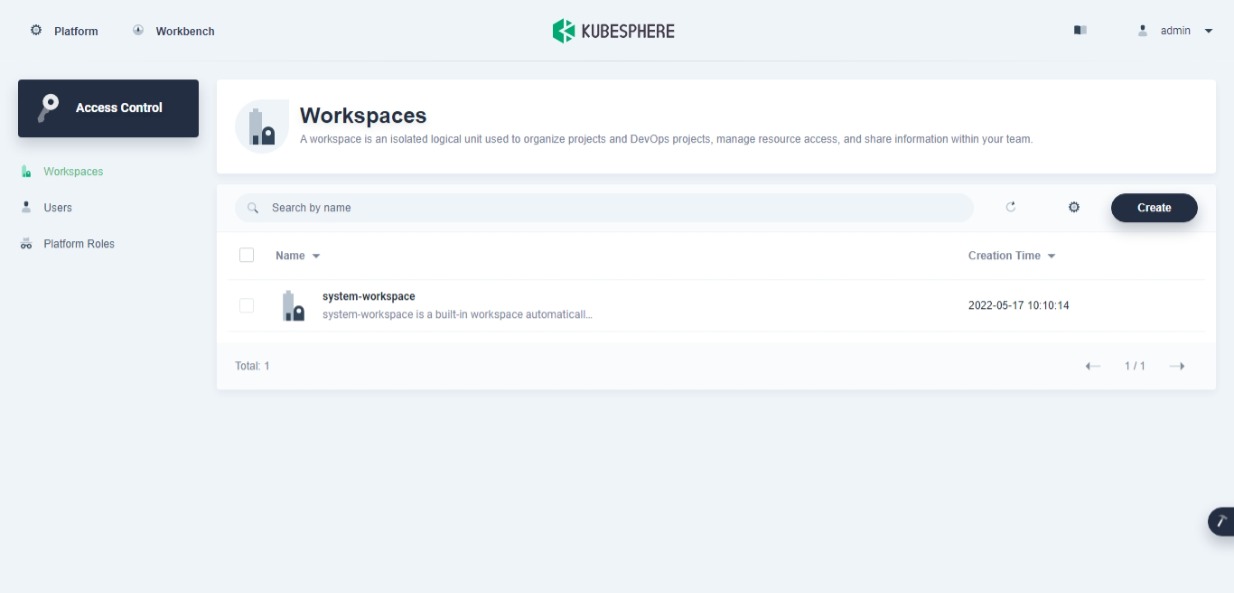
- Click on Users tab.
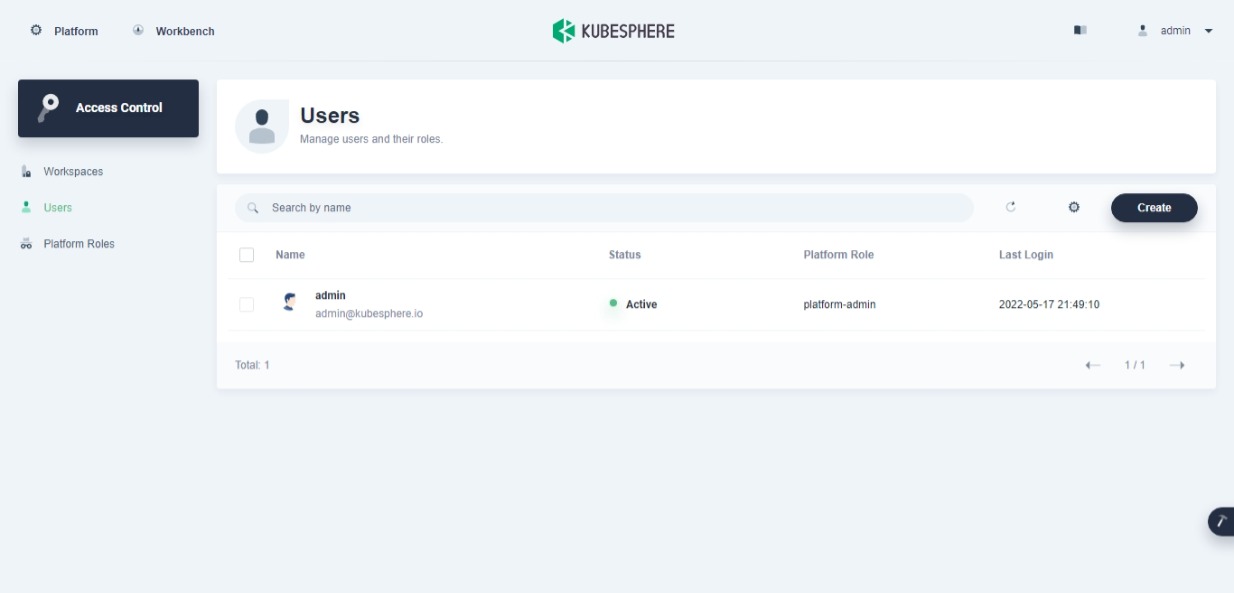
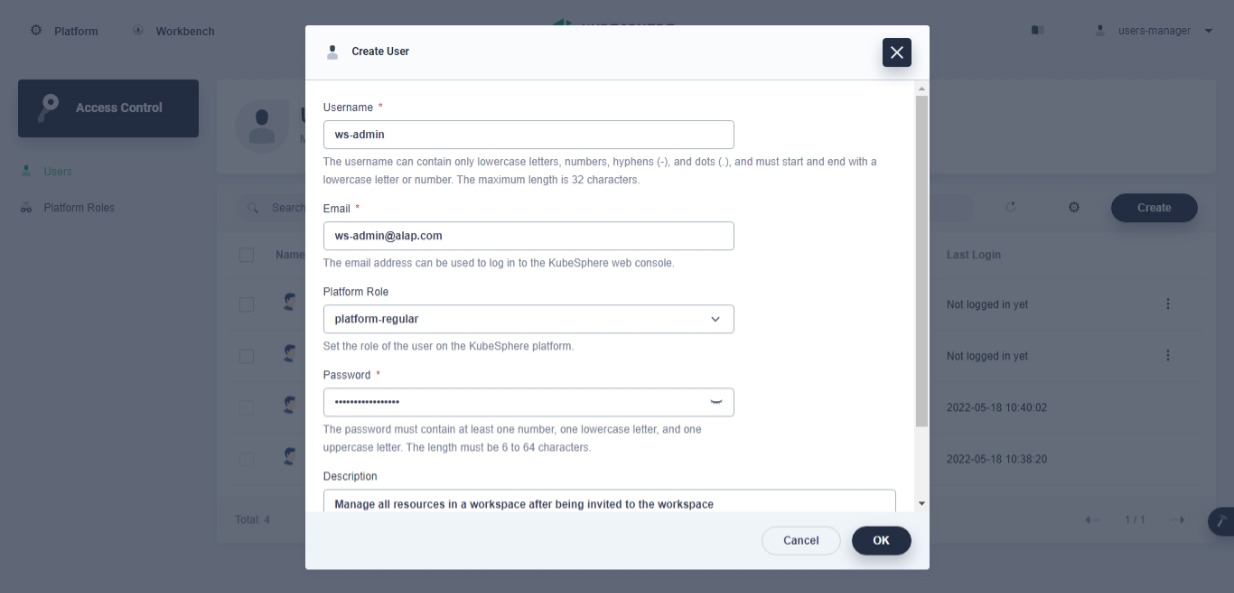
- Click on Create button. A new user dialog will open. Fill it as given below:
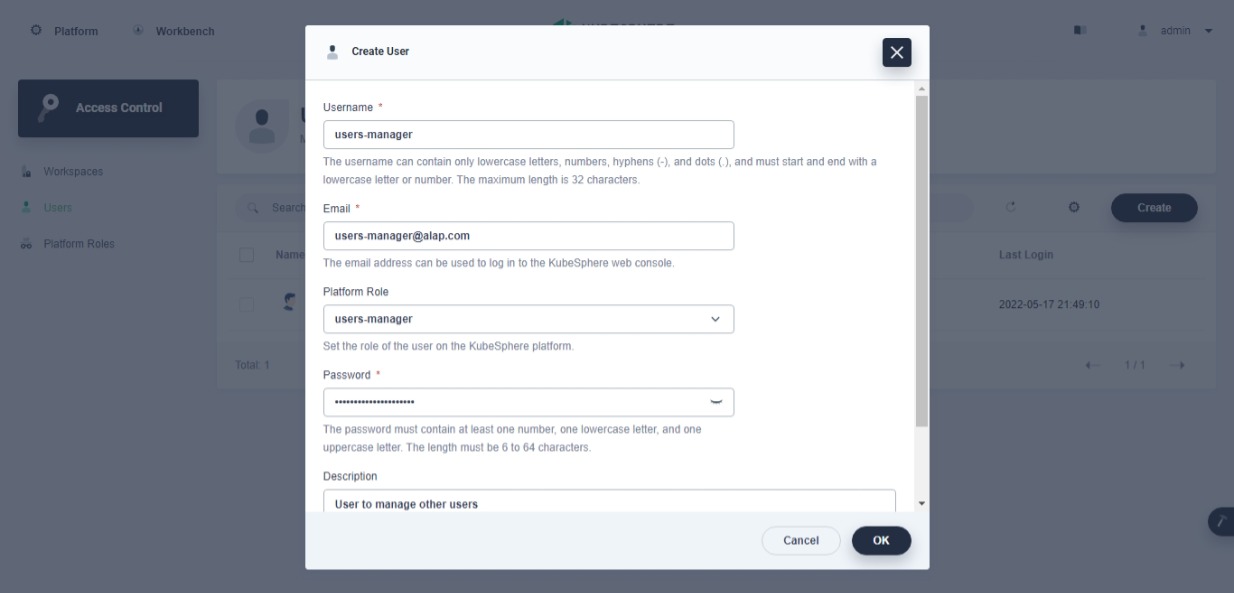
- Click OK button. You will see a newly created user in user list. Click on admin dropdown and select Log Out option to logout admin user.

- Login with your new user's credentials.
- Repeat step-5 to create
ws-manager, ws-admin, project-admin, project-regularusers: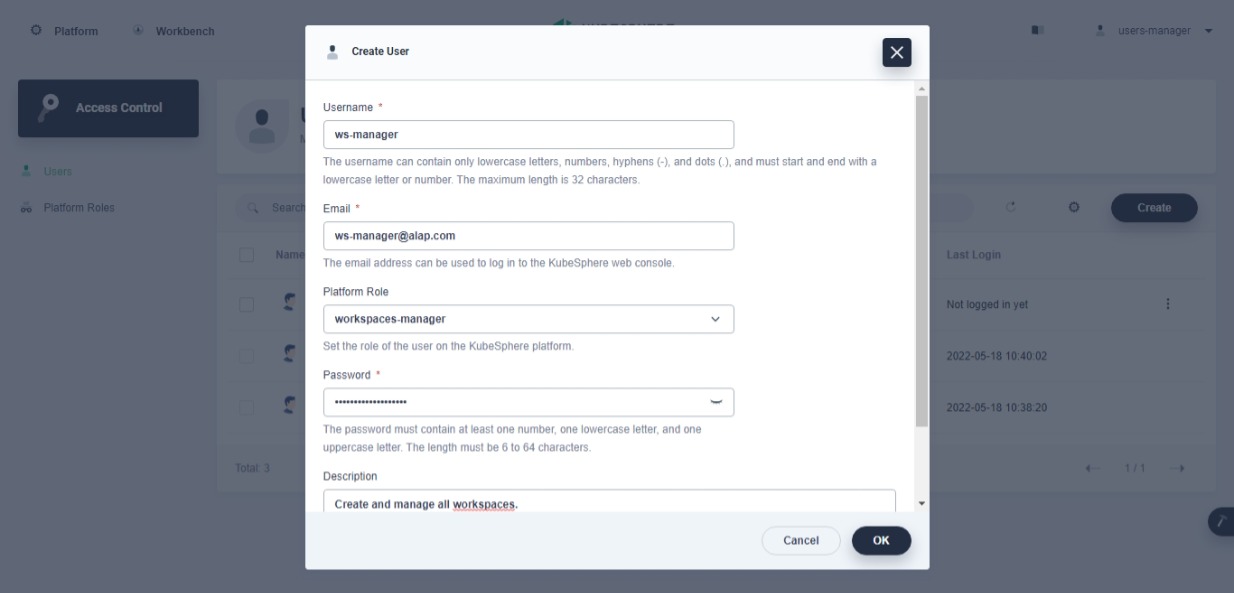
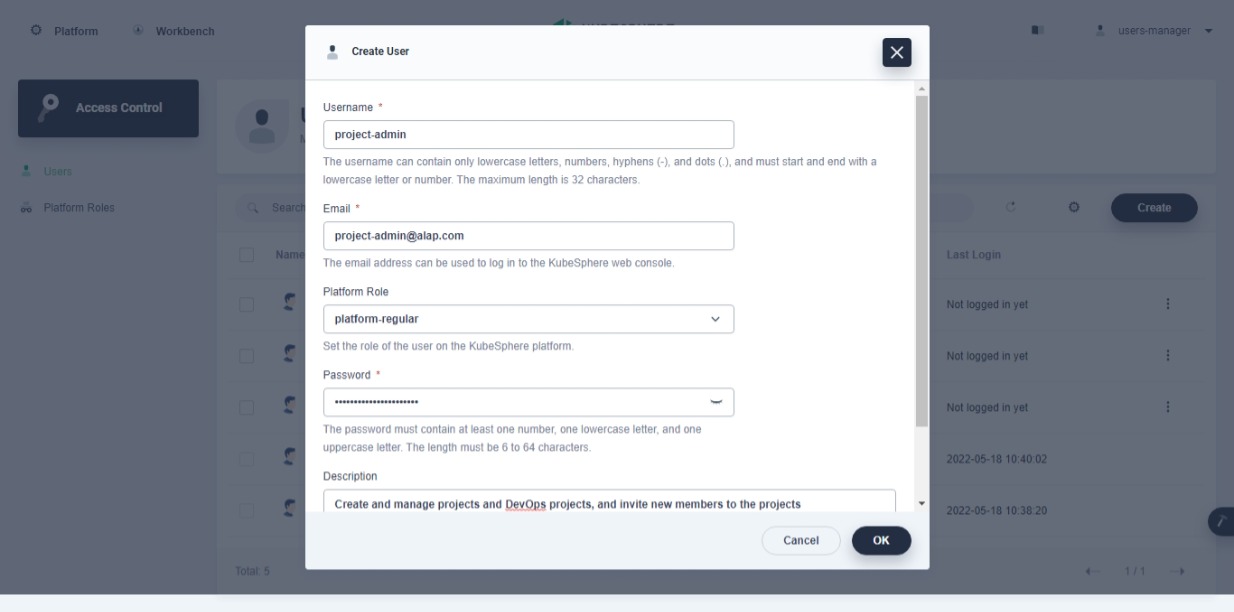
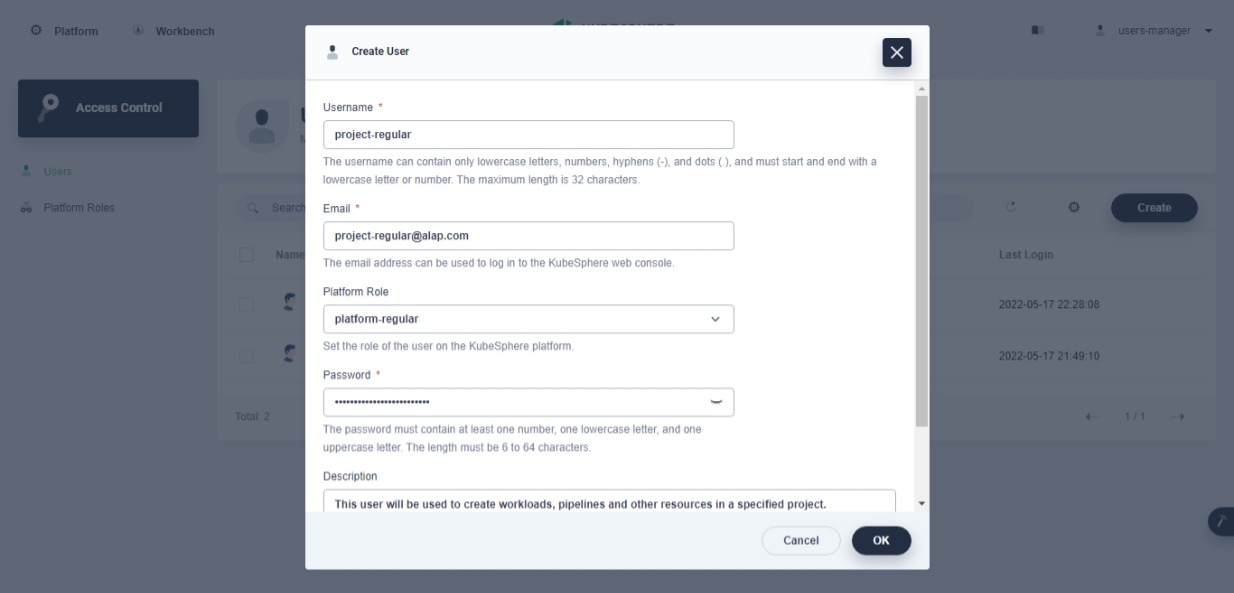
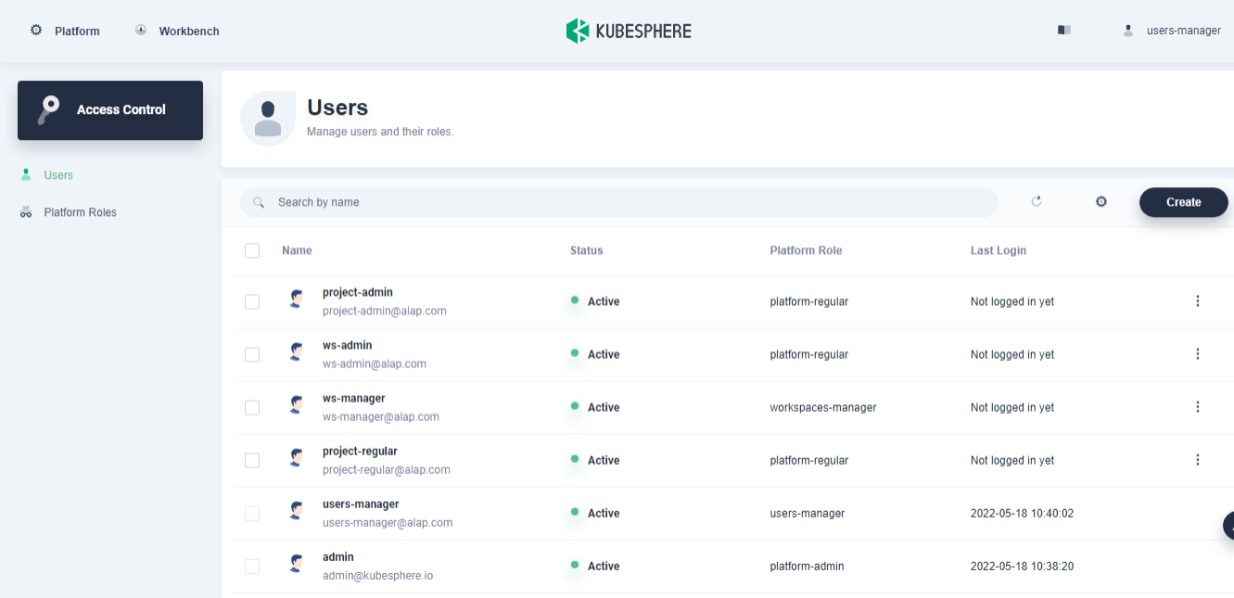
- You will see all created users in user list page.
- Follow step-6 to logout current user.
How to Create a Workspace?
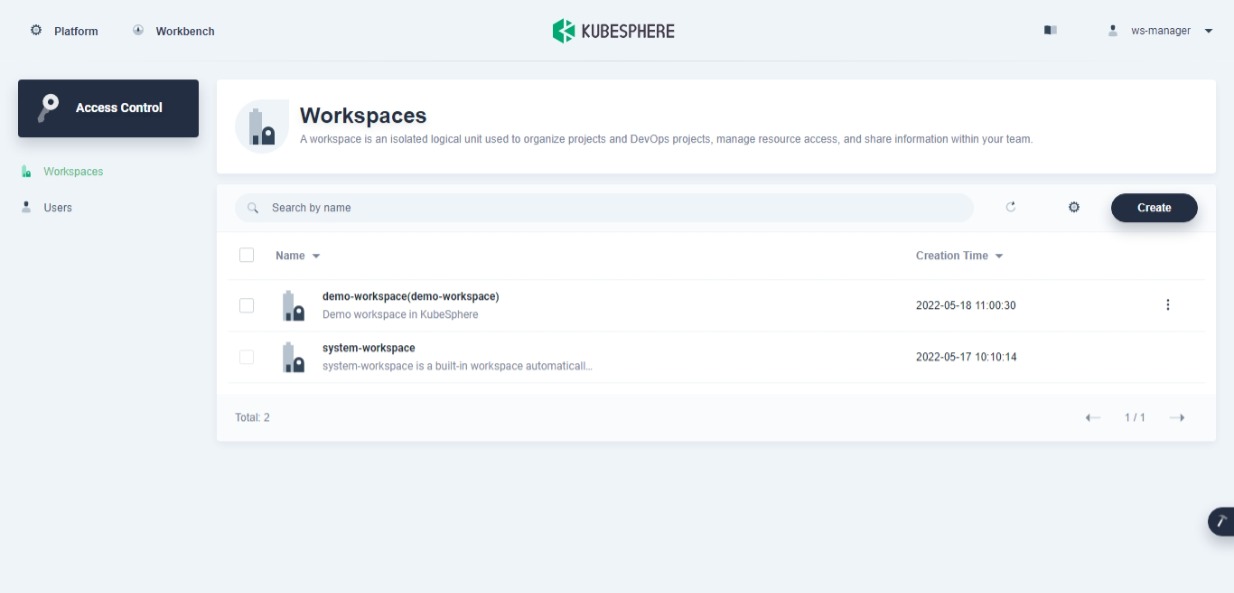
- Login to KubeSphere with
ws-manageruser's credentials. - Click on Create button in Workspaces tab. Fill a new workspace form as given below:

- Click on Create button. You will see workspace list with a newly created workspace.
- Logout current user and login with
ws-adminuser's credentials. - You will see overview of
demo-workspace.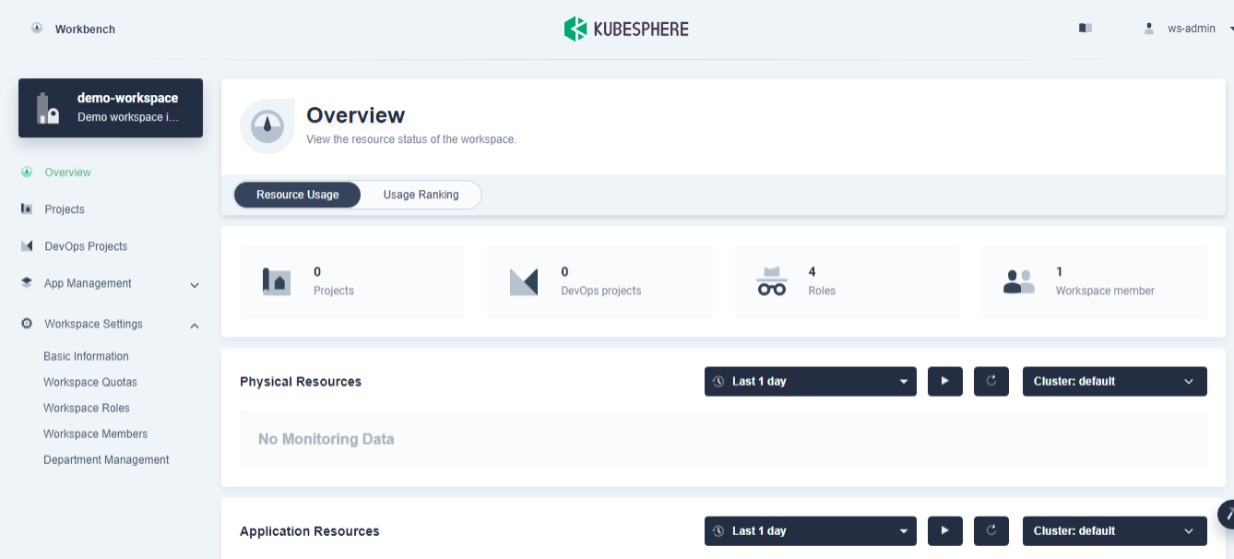
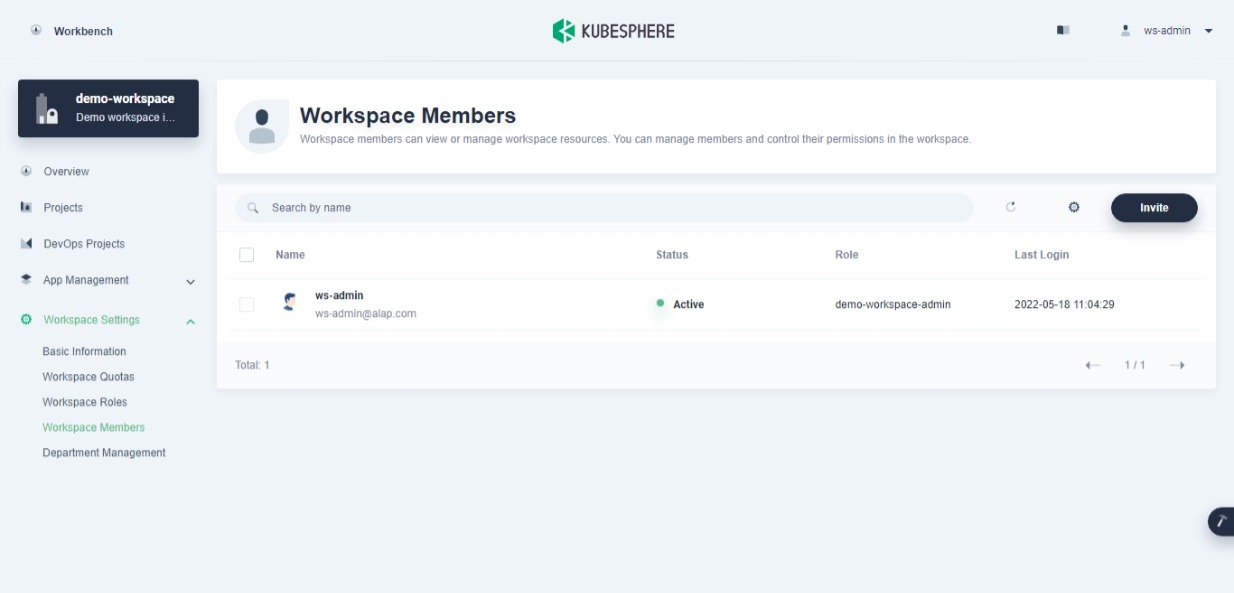
- Click on Workspace Settings dropdown and Workspace Members option. You will see workspace memeber list.
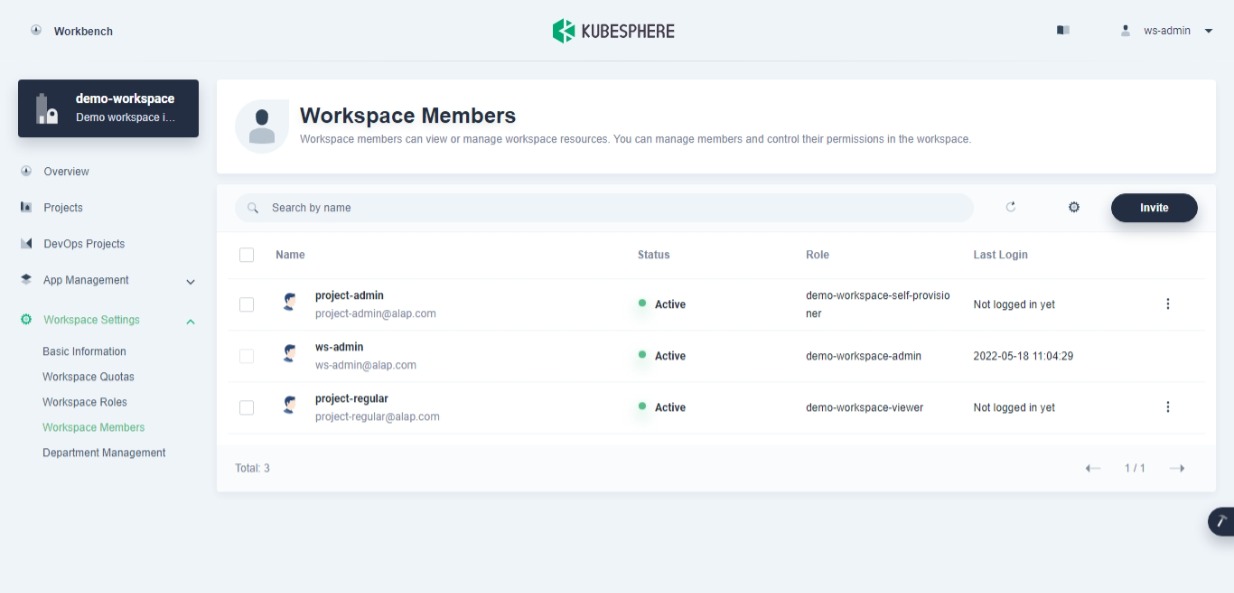
- Click on Invite button. You will see dialog. Click on + (plus) button for
project-adminand selectdemo-workspace-self-provisioneroption. Click on + (plus) button forproject-regularand selectdemo-workspace-vieweroption.
- Click on OK button. You will see workspace member list with new 2 members.
- Logout current user.
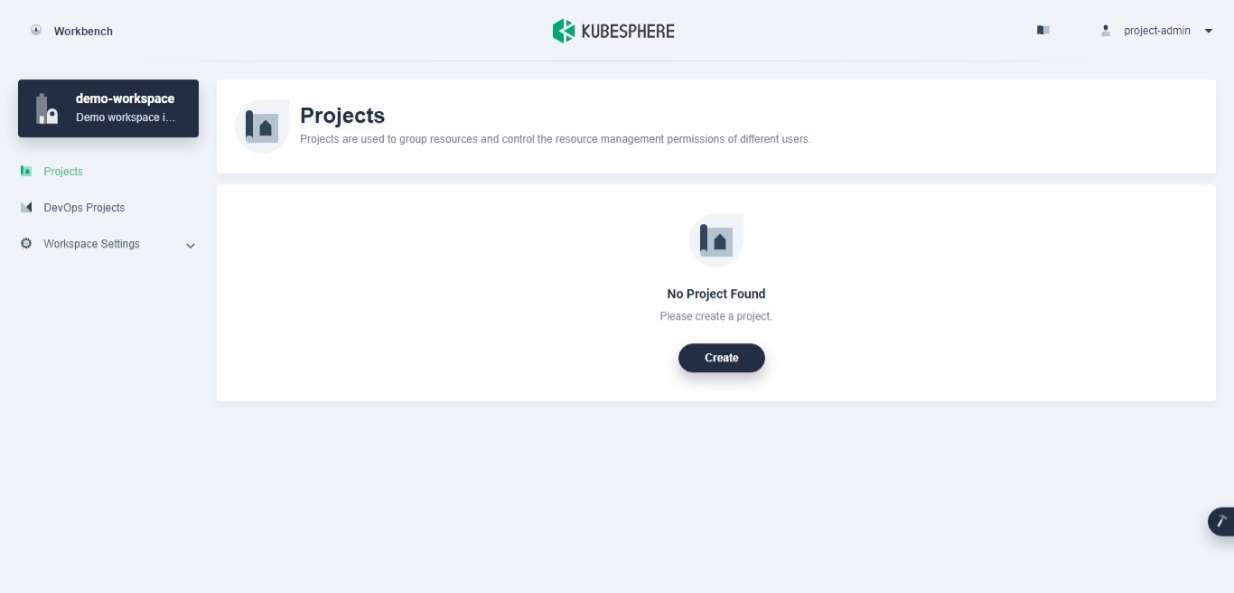
How to Create a Project?
- Login to KubeSphere with
project-adminuser's credentials. - You will see workspace that assigned to logged-in user. Click on Create button of Projects tab.
- You will see a new project dialog. Fill it as given below:
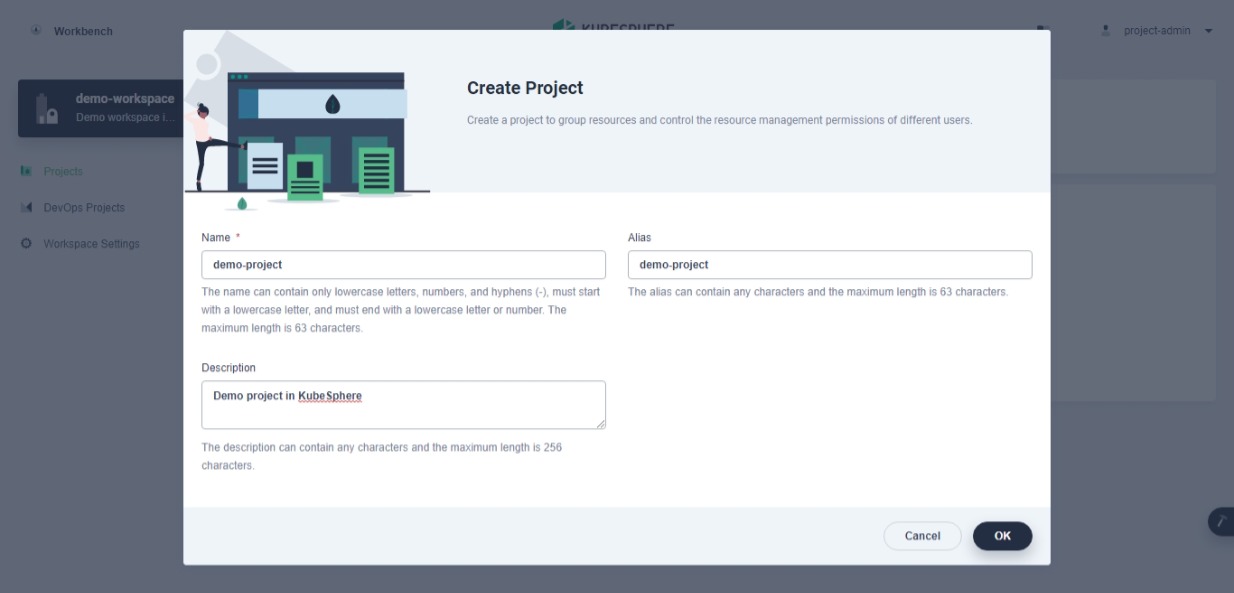
- Click on OK button. You will see project list with a newly created project.
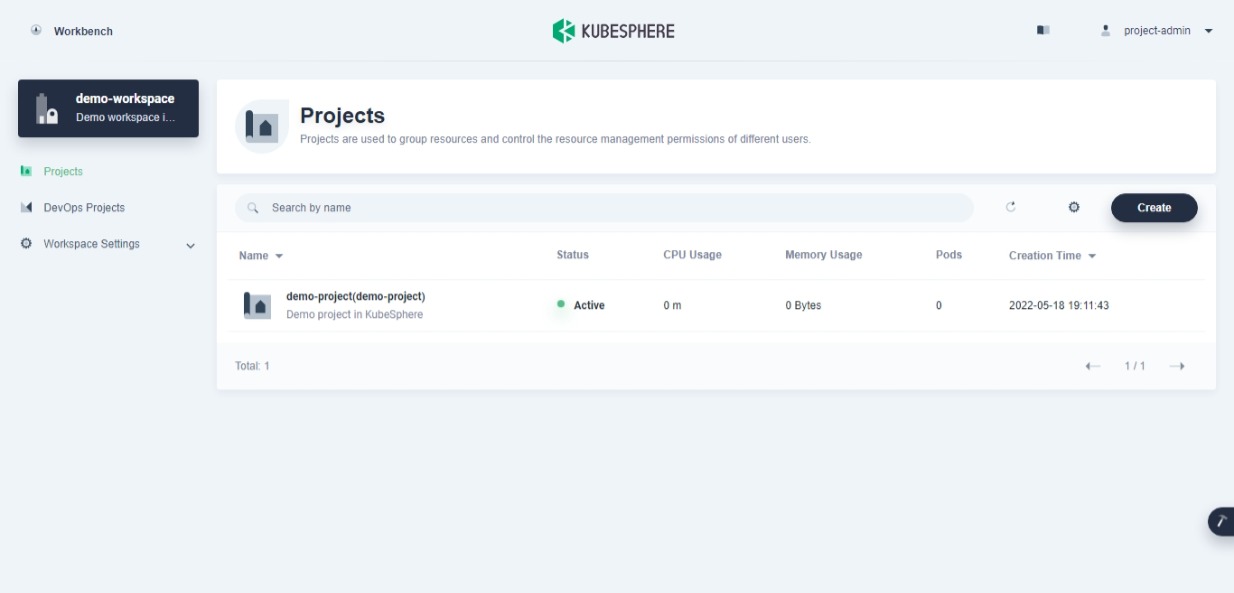
- Click on project name (in my case
demo-project). You will see overview of project.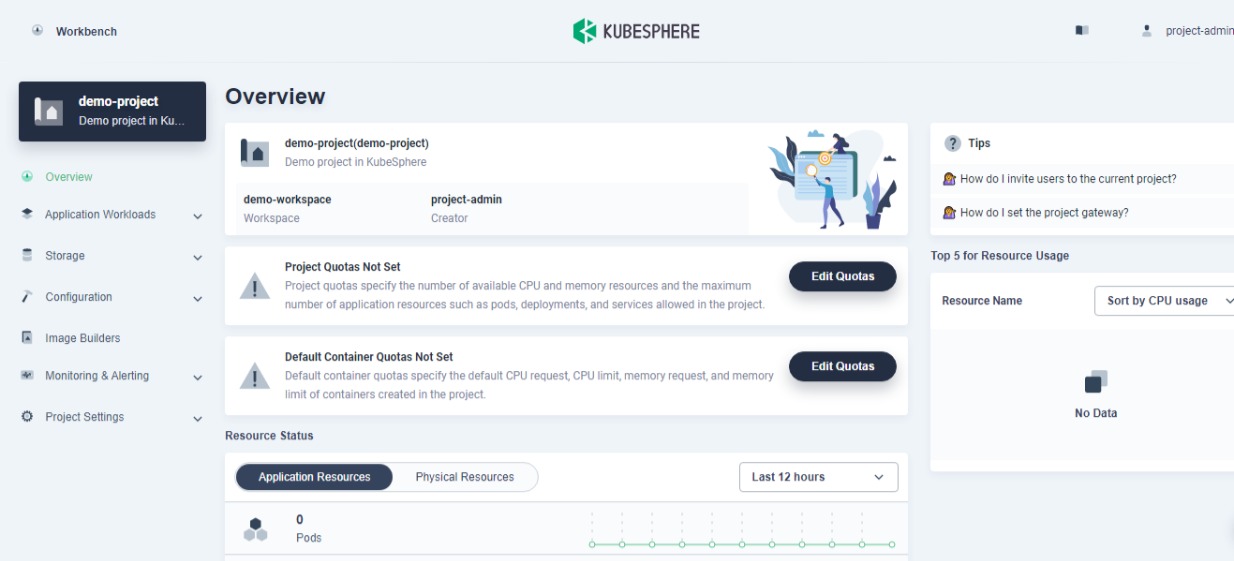
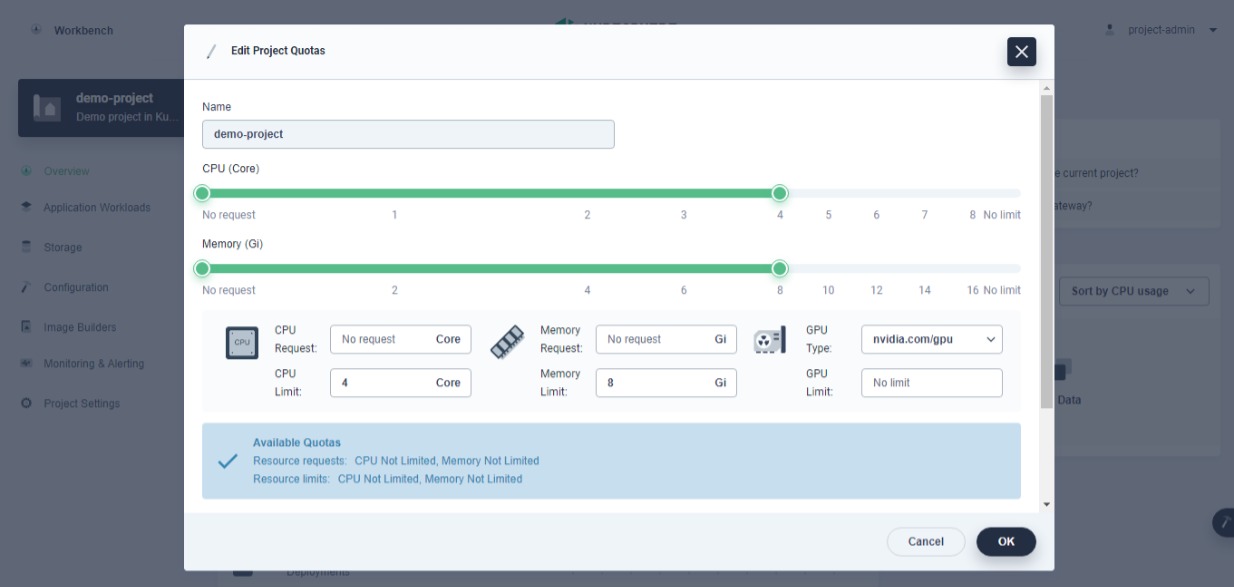
- Click on Edit Quotas button of Project Quotas section. You will see dialog. Change it as per your requirement. I changed it to 4 CPU core and 8 Gi memory.
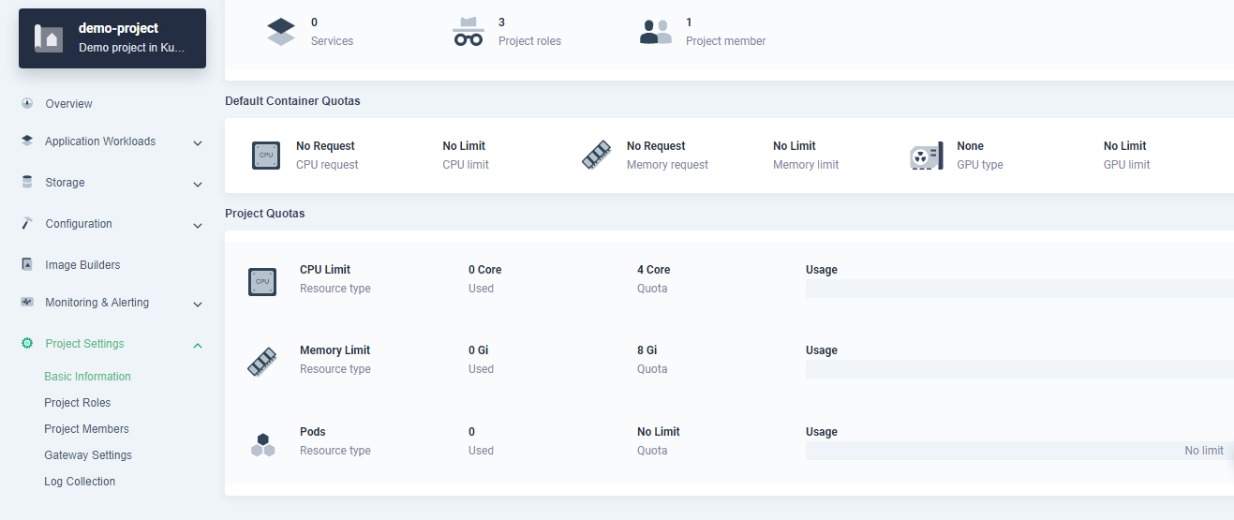
- Click on OK button. Click on Project Settings dropdown and select Basic Information option. You can verify configured project quotas in this page.
- Click on Project Members option under Project Settings dropdown. You will see project member list. Click on Invite button. You will see dialog. Click on + (plus) button for
project-regularmember and selectoperatoras a user role.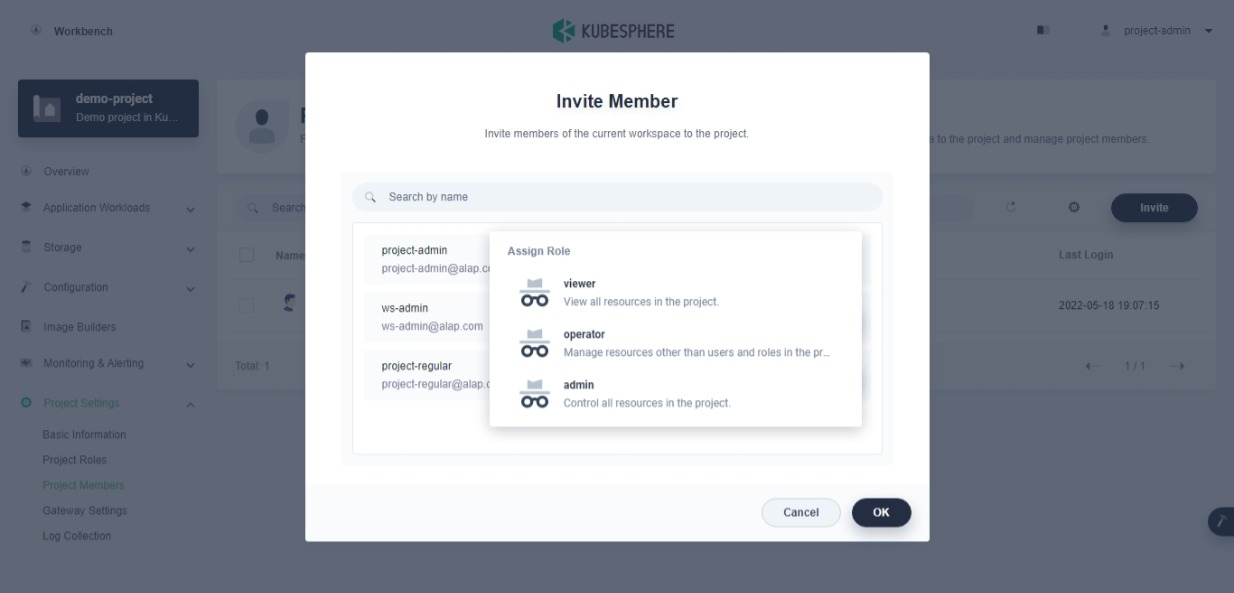
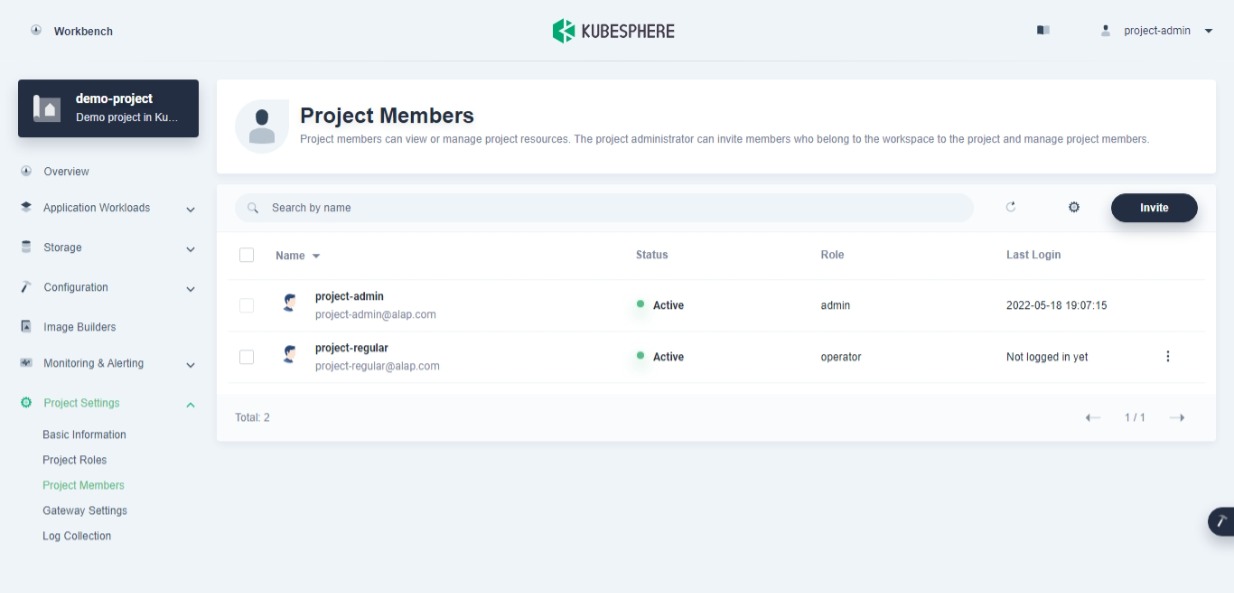
- Click on OK button. You will see project member list.
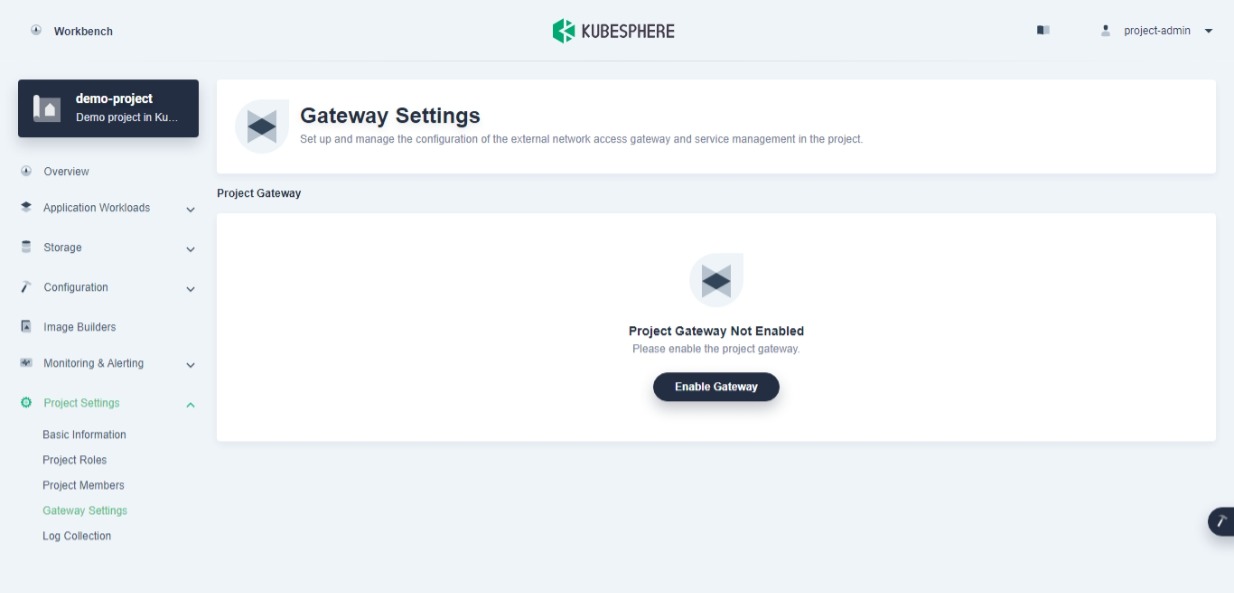
- Click on Gateway Settings option under Project Settings dropdown. You will see project gateway page as given below:
- Click on Enable Gateway button. You will see dialog.
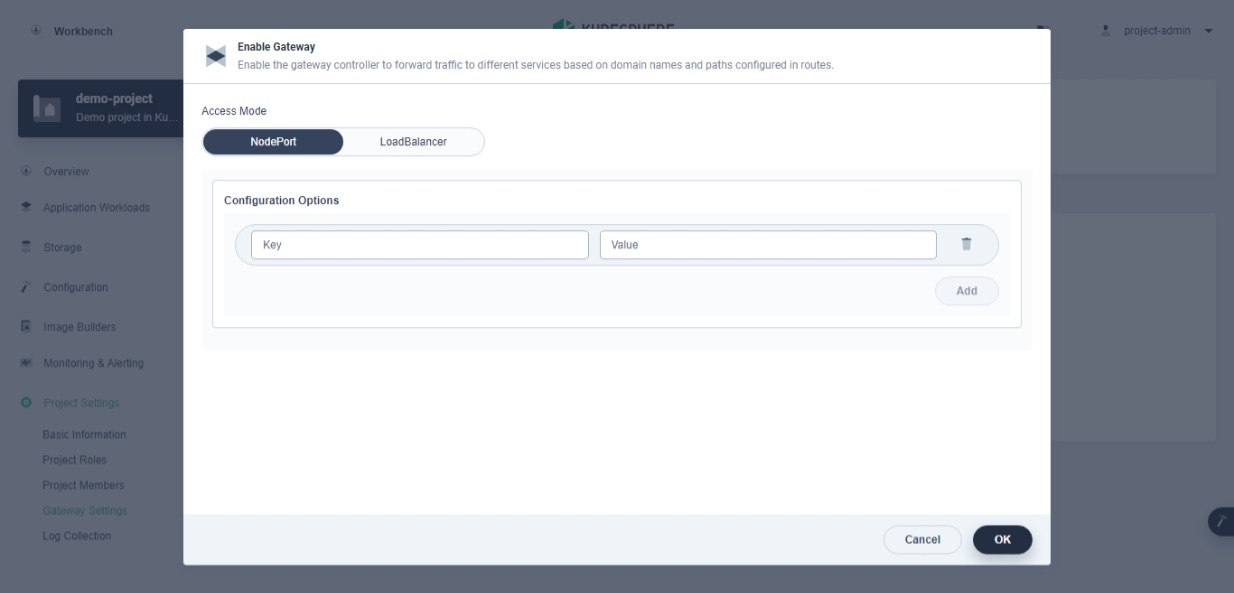
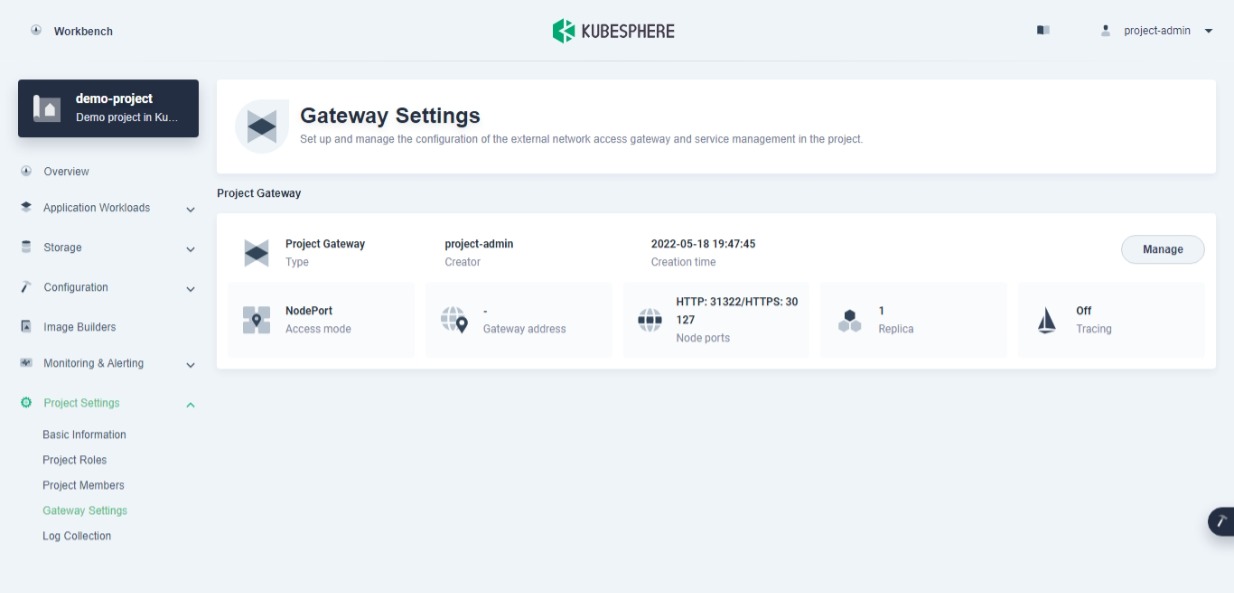
- Make sure NodePort selected as Access Mode. Click on OK button. You will see gateway settings page.
- Logout current user.
How to Create DevOps Project?
- Login to KubeSphere with
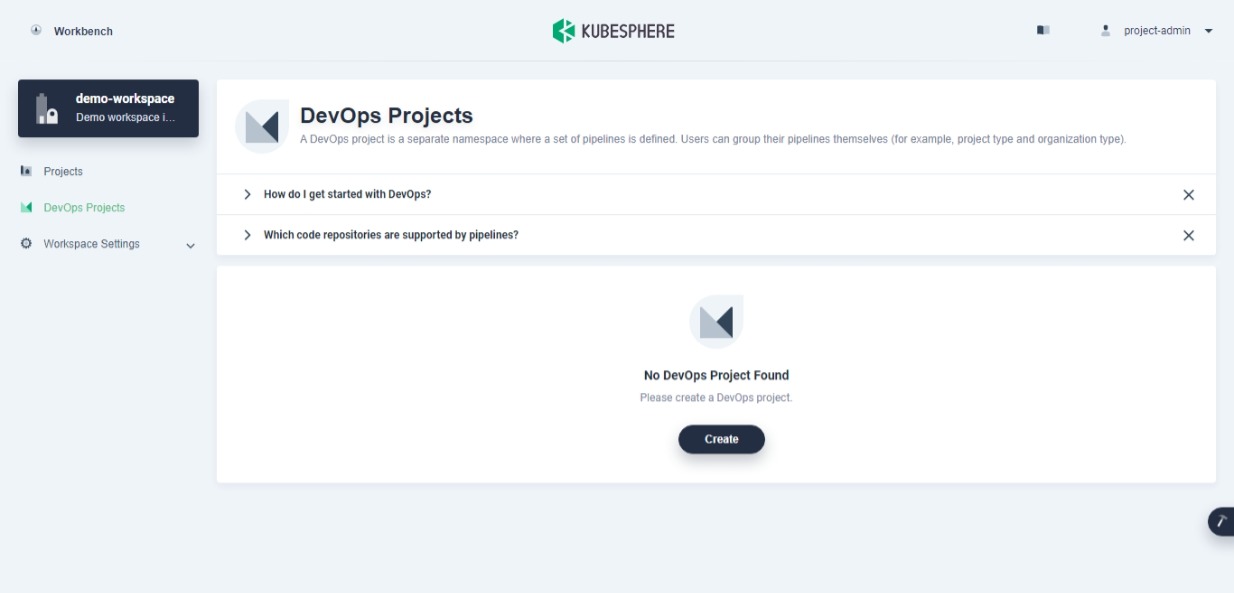
project-adminuser's credentials. - Click on DevOps Projects tab. You will see initial page.
- Click on Create button. You will see a new DevOps project creation dialog. Fill it as given below:
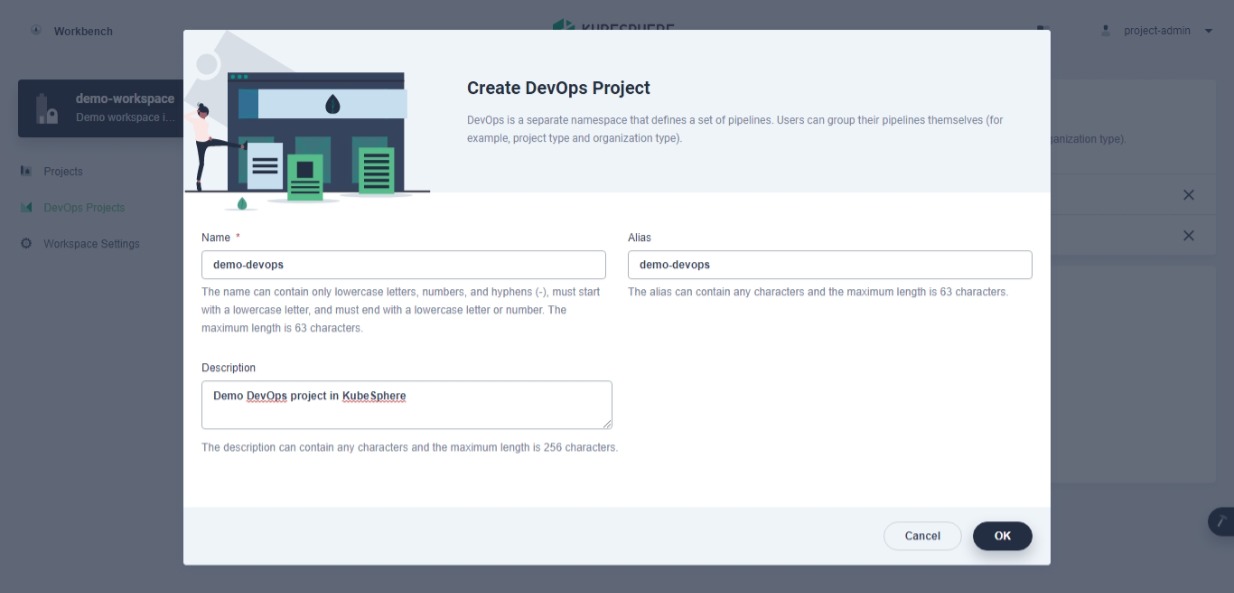
- Click on OK button. You will see a newly created DevOps project.
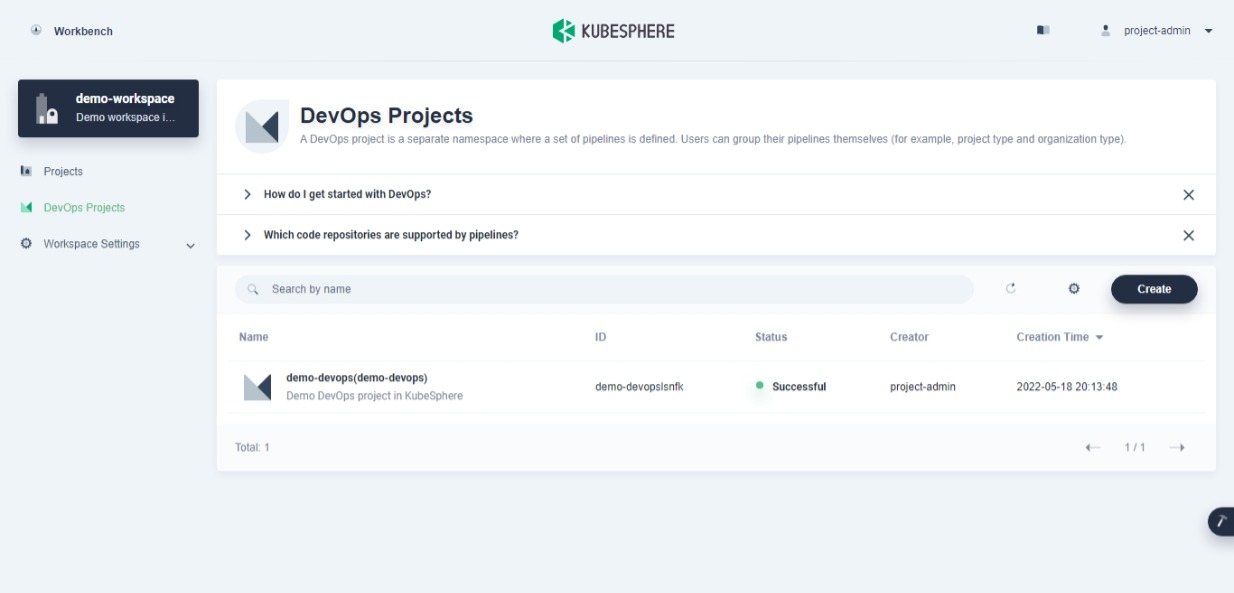
- Click on project name (in my case
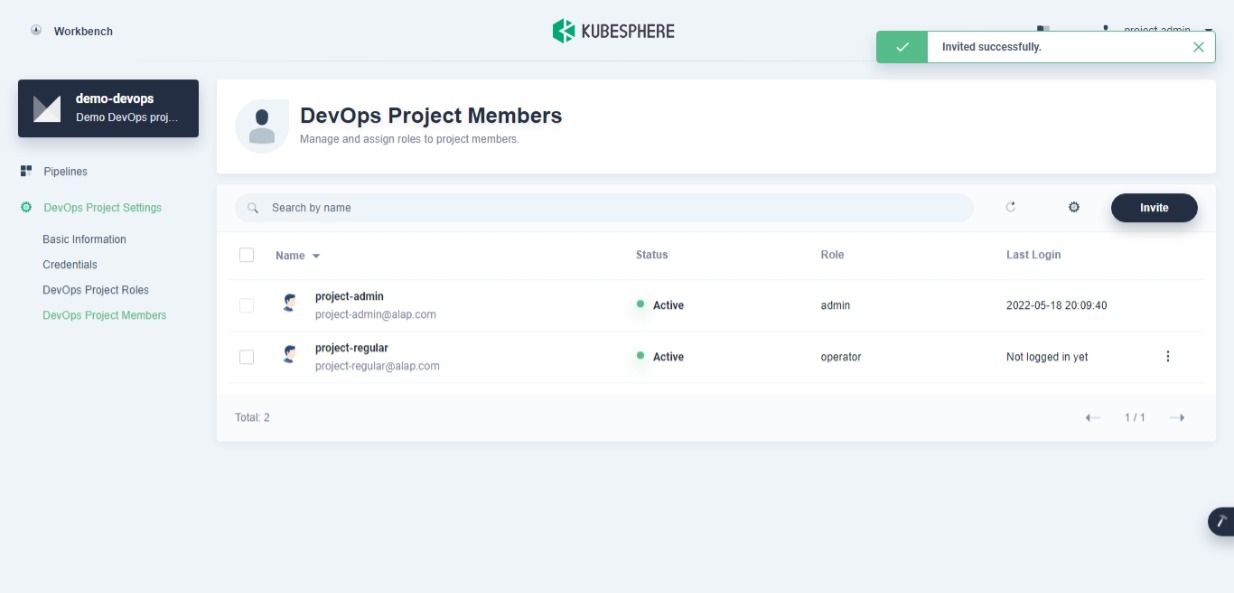
demo-devops). You will see detail page of it. Click on DevOps Project Members option under DevOps Project Settings. You will see DevOps project member list.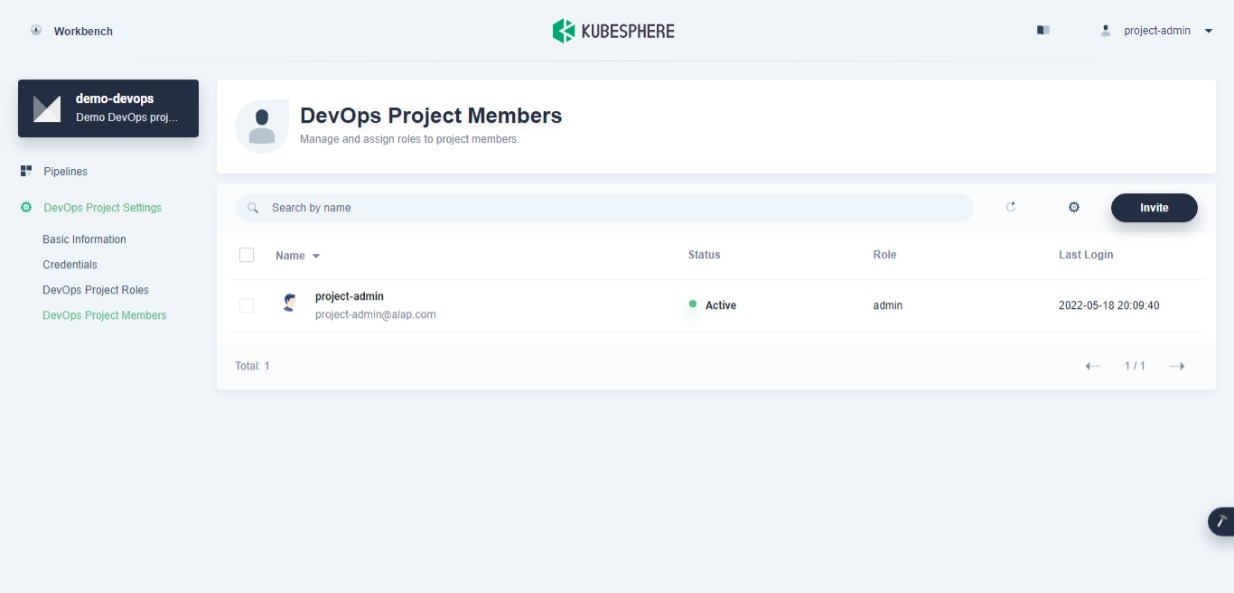
- Click on Invite button. You will see dialog. Click on + (plus) button for
project-regularand selectoperatoras a user role.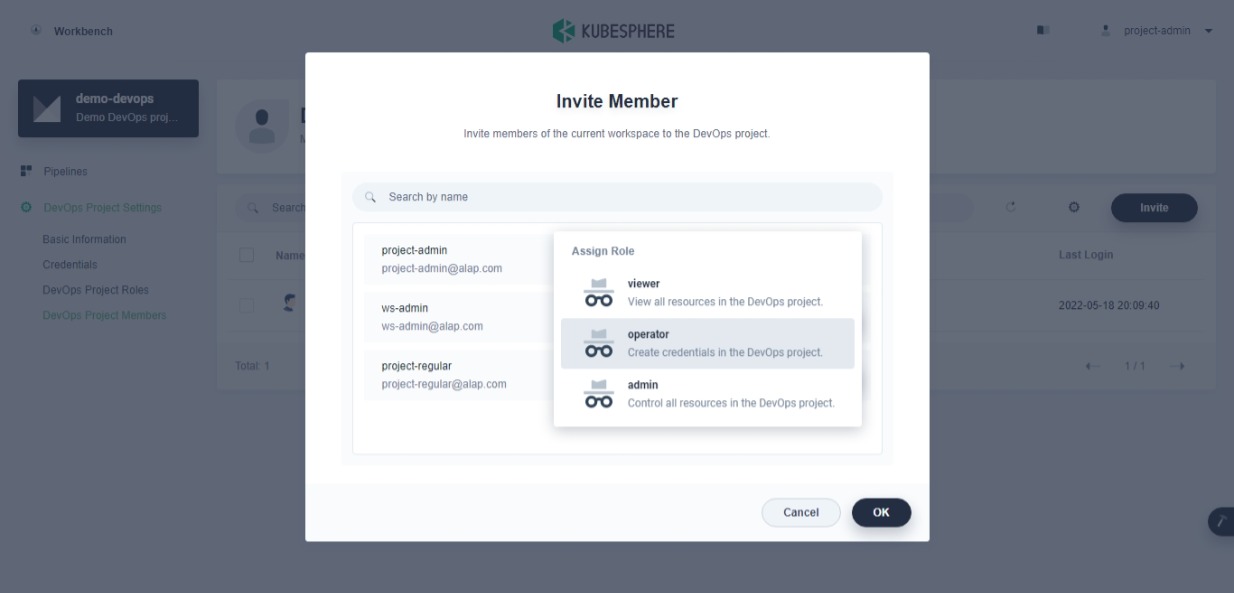
- Click on OK button. You will DevOps project member list.
- Logout current user.
Congratulations! We successfully created users, a workspace and projects in KubeSphere.