Enable DevOps in KubeSphere
Updated
•2 min readA
I am Java developer with 6+ years of experience and currently exploring open source projects.
In this blog, we will enable DevOps in KubeSphere.
Prerequisites:
- You have Civo account.
- KubeSphere is configured on Civo as per my first blog in this series.
How to enable DevOps in KubeSphere?
- Login into KubeSphere with your account credentials.
- You can see dashboard of KubeSphere. Click on Platform (left upper side) button. You will see as given below:
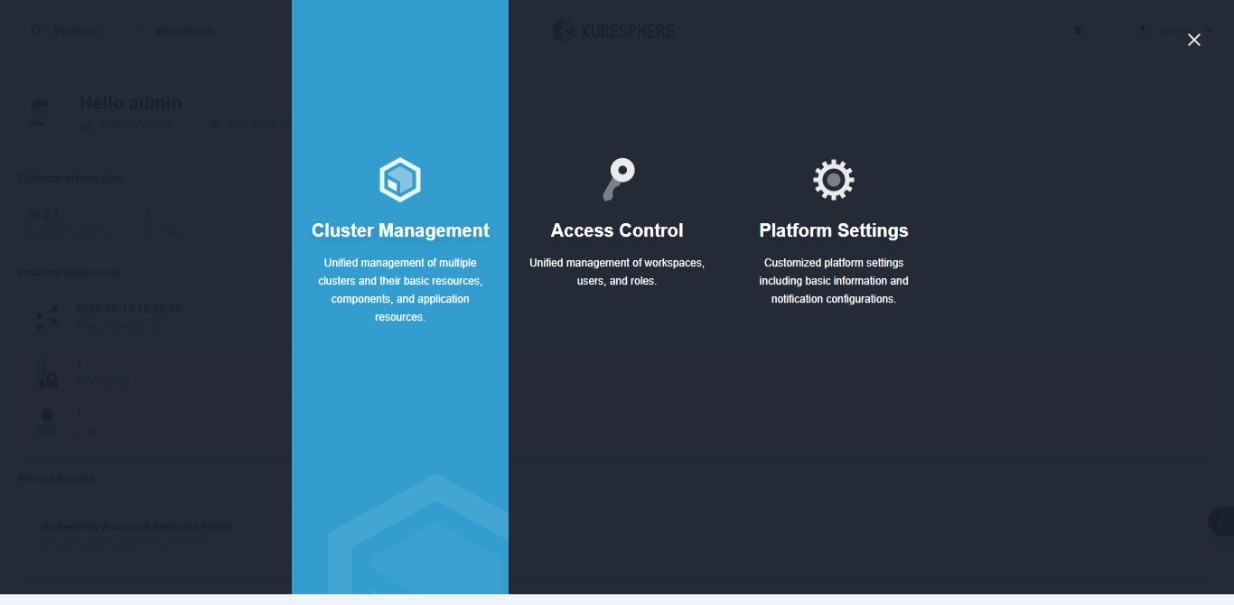
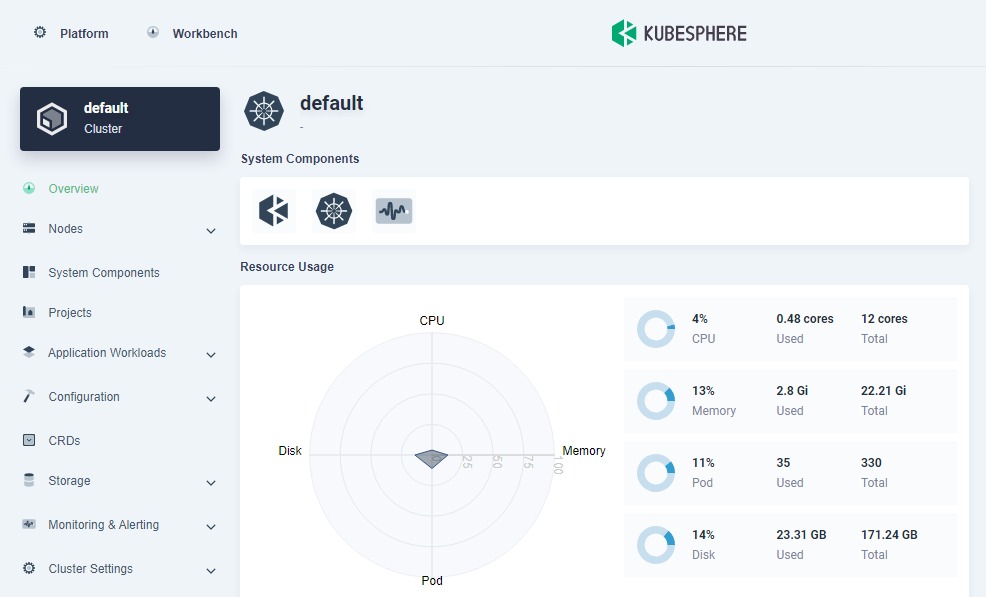
- Click on Cluster Management section. You will see page as given below:
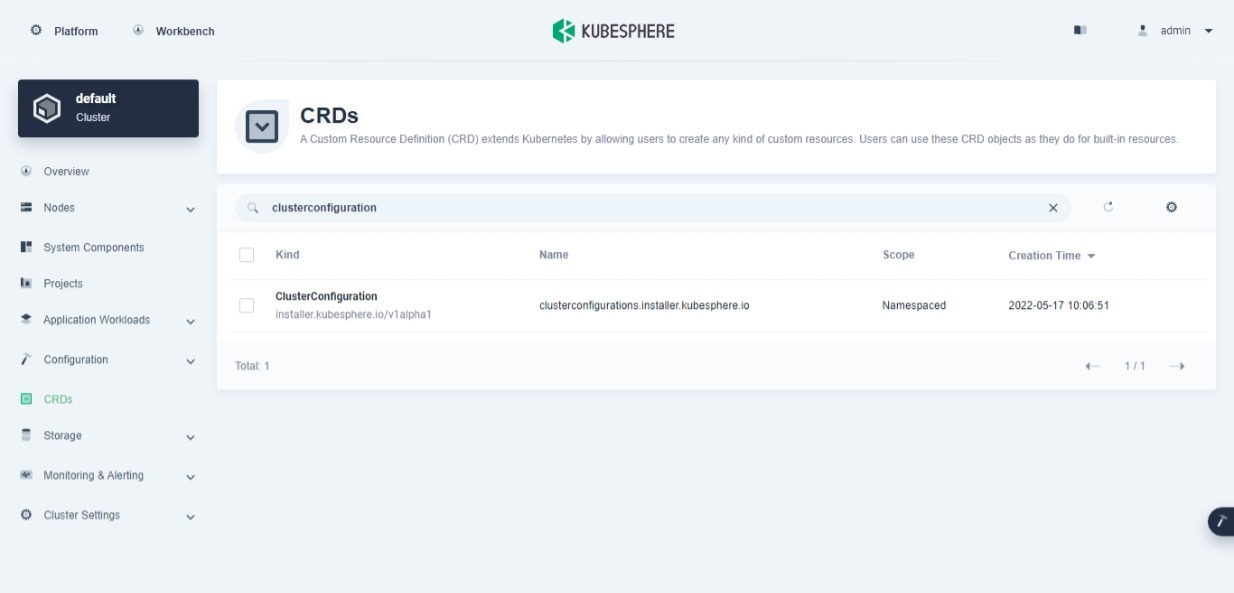
- Click on CRDs tab, add clusterconfiguration in search bar and press Enter. You will see ClusterConfiguration CRD in a list. The CRD (Custom Resource Definition) extends Kubernetes by allowing users to create any kind of custom resources. Users can use these CRD objects as they do for built-in resources.
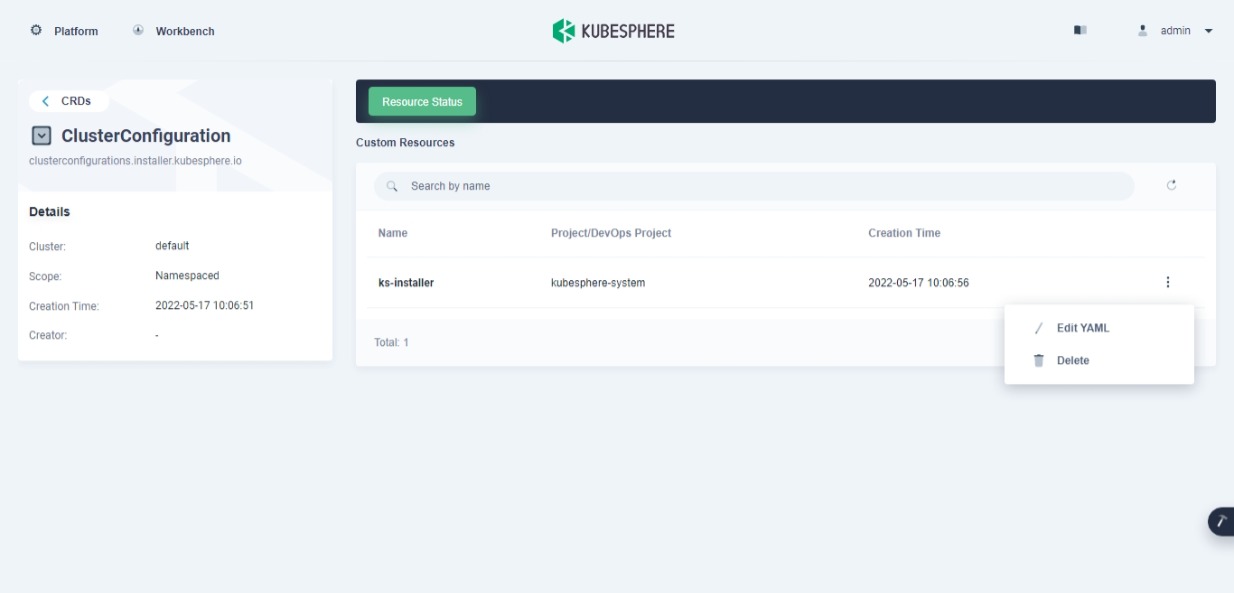
- Click on ClusterConfiguration CRD. You will see detail of it. Click on 3 dots and select Edit YAML option for ks-installer in Custom Resources section.
- You will see YAML file as given below. Search for
devopsand changefalsetotrueforenabled. Click OK button to save this configuration.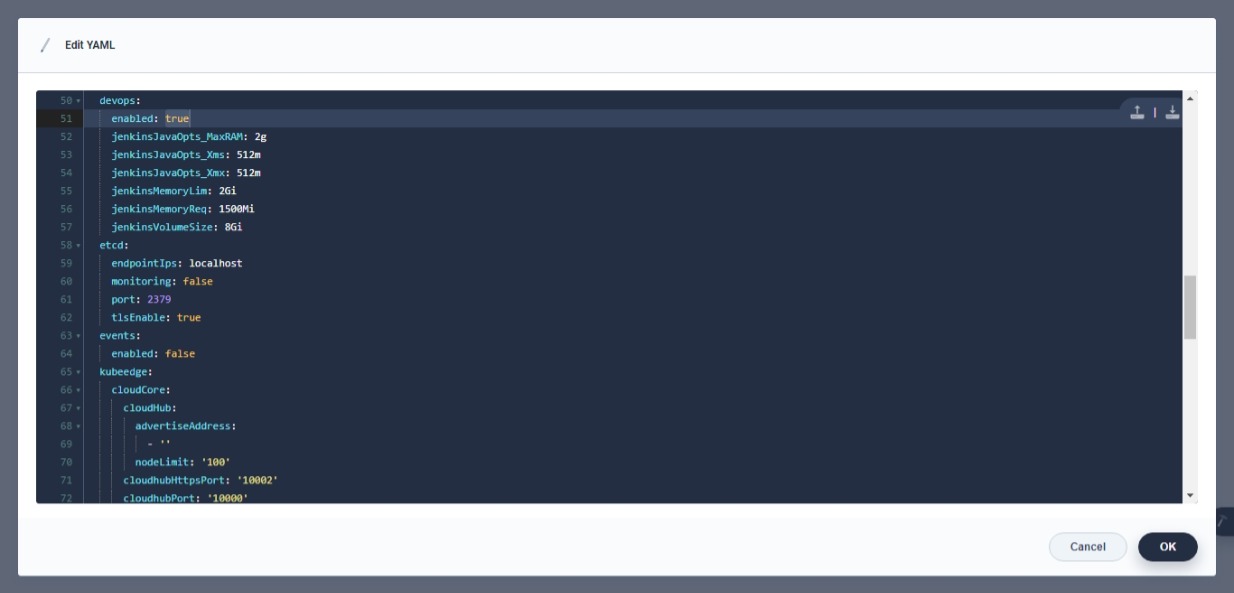
- Click on hammer icon and click on kubectl button under Control Tool section. Use this command to check installation in
kubectl:kubectl logs -n kubesphere-system $(kubectl get pod -n kubesphere-system -l app=ks-install -o jsonpath='{.items[0].metadata.name}') -f. You will see success message after installation like given below. Click on X (close) button.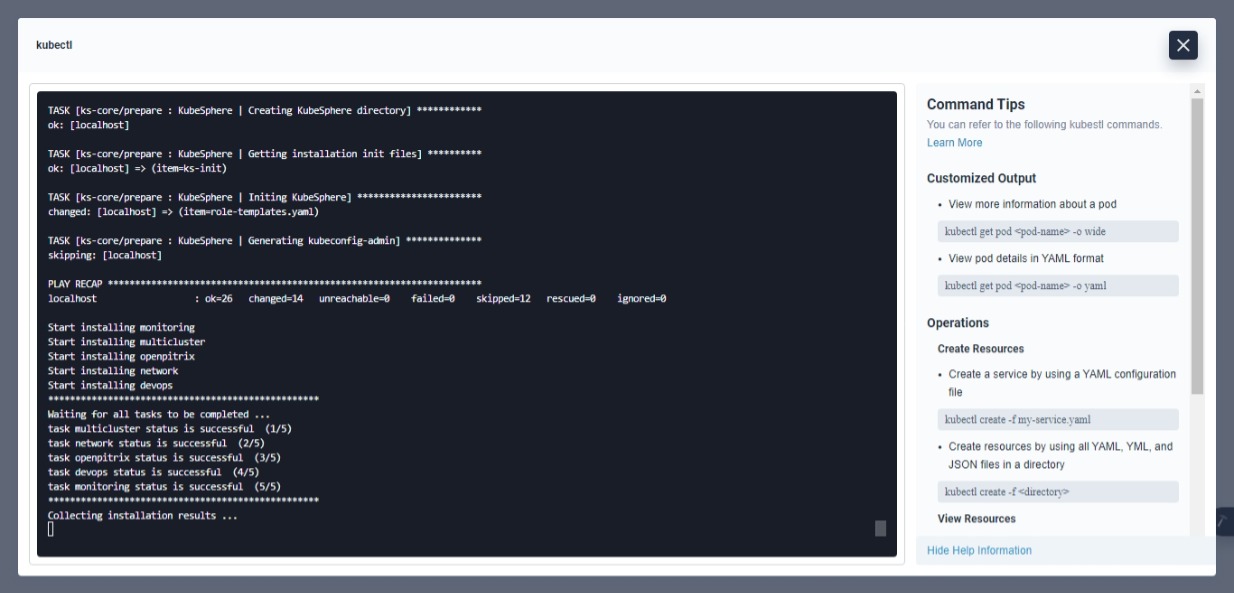
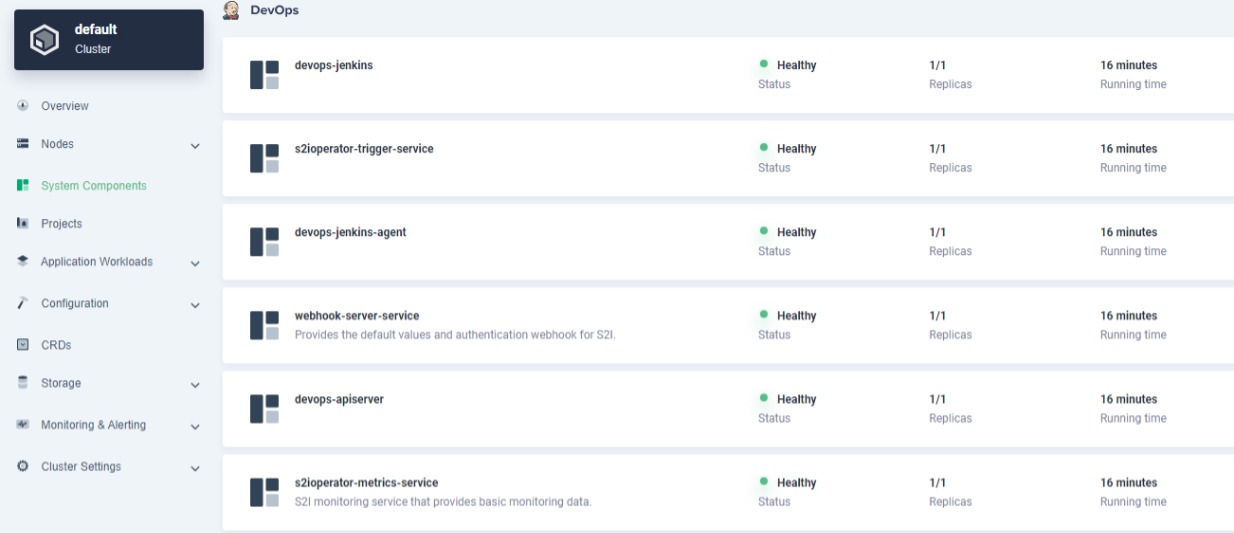
- Click on CRDs button (left upper side)
- To verify installation, click on System Components tab and click on DevOps tab. You will see all DevOps components are in healthy status.
Congratulations! We successfully enabled DevOps in KubeSphere.